Installation on FreeBSD
- Details
- Category: CodeTyphon Installation
- Published: Thursday, 09 May 2013 10:26
- Written by Sternas Stefanos
- Hits: 27622
WARNING: On FreeBSD OS, this installation request a user with sudo root privileges.
User name must have only English letters and without spaces.
1. Step : Preparation
For GhostBSD install "development tools"
sudo pkg install -g 'GhostBSD*-dev'
Give to installation user sudo root privileges.
Users in the sudoers list are allowed the privileges to run commands and open files as the root user.
Open the file “sudoers” located at /usr/local/etc/sudoers using your favorite text editor.
You must have root permissions to be able to edit this file so you will want to open your editor from the command line.
If you use nano editor you can simply enter the following into the Terminal:
su
nano /usr/local/etc/sudoers
Once you have the sudoers file open, add as last line:
user ALL = (ALL:ALL) NOPASSWD: ALL
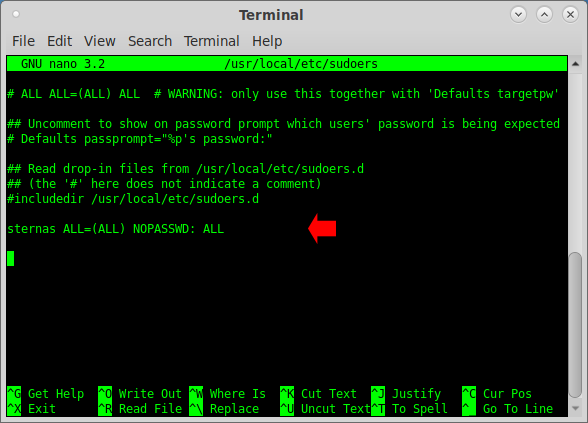
Ctrl+x to exit from nano and choose save (y/Y).
The new user has now been added to the “sudoers” file and can use the “sudo” command passwordless.
2. Step : Download
Download CodeTyphonIns.zip  to your /home directory
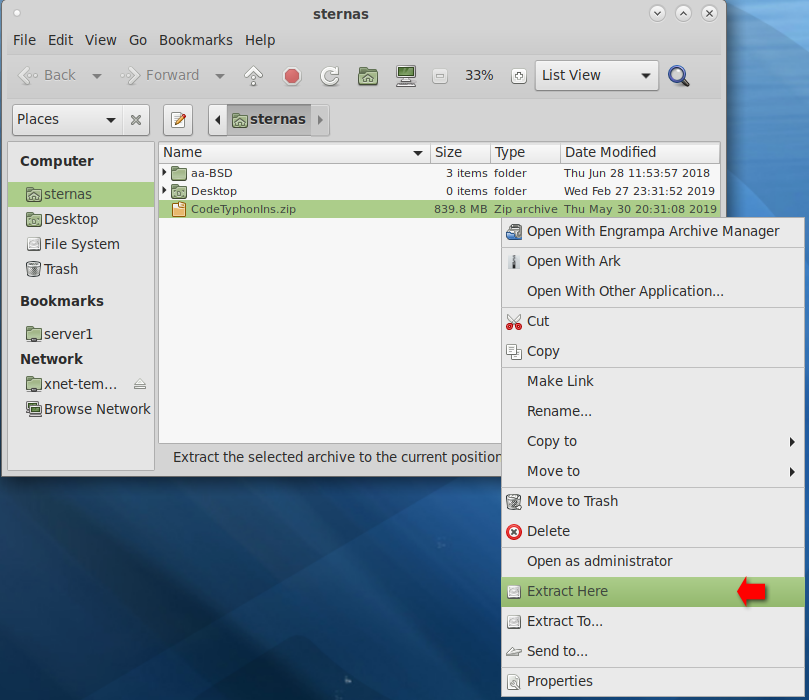
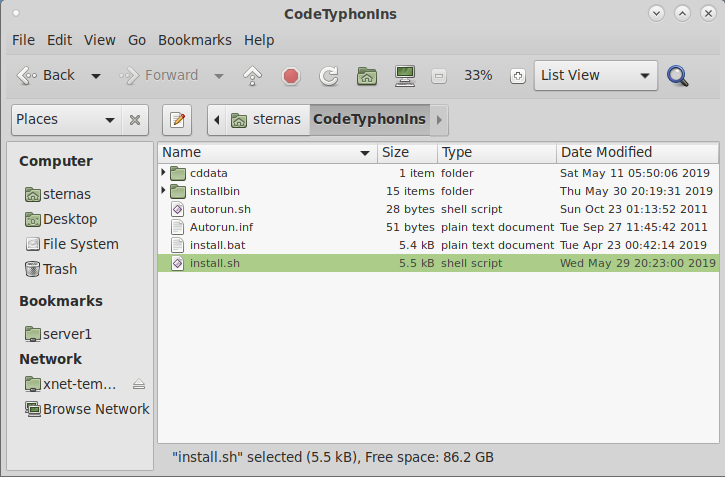
Extract CodeTyphonIns.zip contents
3. Step : Install
Go to new CodeTyphonIns directory and execute the "install.sh" (as "normal" user with "sudo" root privileges)
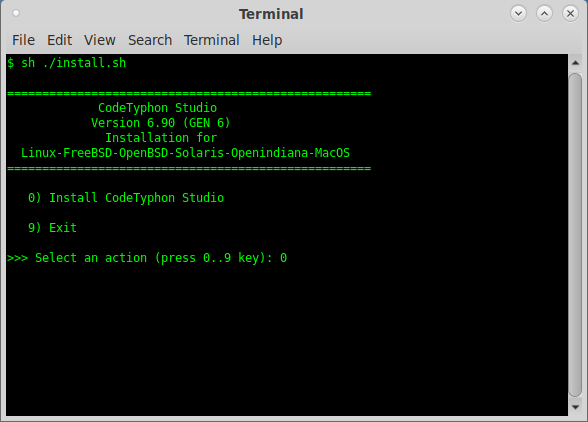
To execute from terminal install.sh script
cd CodeTyphonIns (go to CodeTyphonIns folder)
sh ./install.sh (execute install.sh)
4. Step : Setup and Build
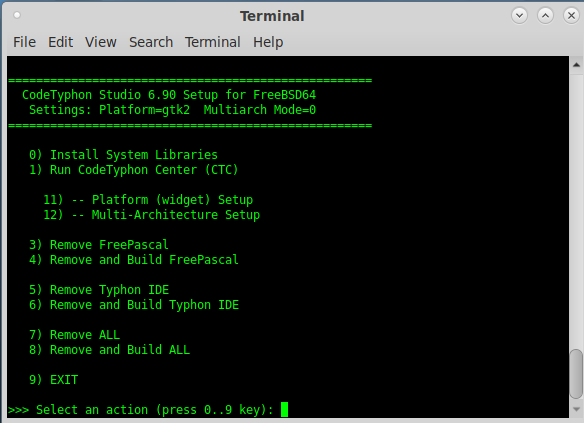
After install script CT automatic will start Setup script  .
.

NOTE:
Only for the first time of CodeTyphon installation in your Computer,
From "Setup Script" Select option (0) "Install System Libraries", to install some System Libraries
(2-5 minutes procedure)
From "Setup Script"  select option (8) "Remove and Build ALL" to Build Freepascal and Typhon IDE from source.
(10-45 minutes procedure)
5. Step : Use CT
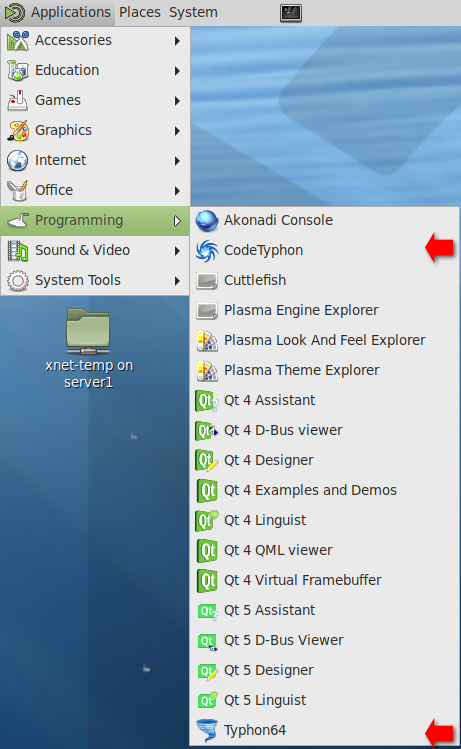
Run Typhon IDE or CodeTyphon Center
Note: After installation you can remove "CodeTyphonIns” folder


